ConeDodger
Member
- Joined
- Jul 19, 2022
- Messages
- 33
- Reaction score
- 10
- Points
- 8
- Location
- Pennsylvania
- Buick Ownership
- Regal TourX 2018 Essence Silver/Shale
Transmission fluid change on Buick Regal TourX
First, always be sure you can refill it before you drain it!
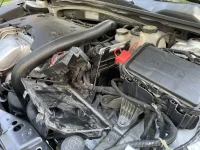
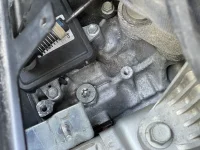
The port to the rear, though visible without removing anything, in my opinion, is more difficult to reach with a socket and funnel. Pushing the ECU over doesn’t help me, I still can’t get enough space.
The port under the battery requires removing a lot more stuff.
You will need: A replacement fill port, GM PN #24220728, or if you already have the port, a new fill port O-ring 24220722. Also you should have a new o-ring gasket for the bigger drain plug on bottom of the trans PN #24277807, and ideally one for the small drain port, PN #90007873.
Remove the cover from the ECU, 10mm. Lift cover off.
Push the tab at the bottom back of the ECU, and slide it up and off the tray, that is actually part of the battery tray.
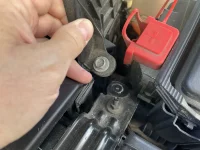
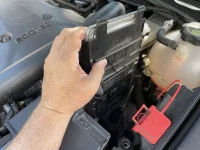
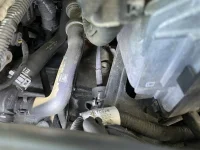
Remove the battery hold down.
Remove the clip the holds the big electrical connector to the front of the plastic battery cover.
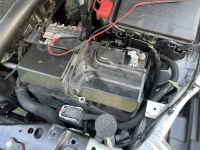
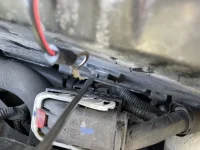
Remove the positive and negative terminals. There is a little wire to unplug from the negative terminal, don’t lose where that goes.
Remove the battery cover.
Loosen and remove the battery hold down on the bottom edge, 13mm.
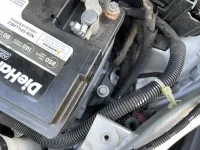
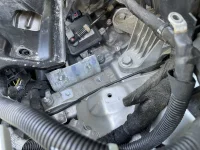
Remove 3 bolts and 2 nuts that hold down the battery tray. 1 bolt is on the top. 2 are in the wells and 2 nuts are angled in the wells.
The battery holder, for me, did not come out all the way nor did it need to. But there are a number of wire looms attached to it.
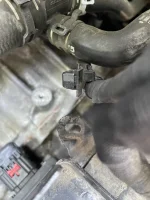
On the front edge is a small wire with a push on Xmas tree.
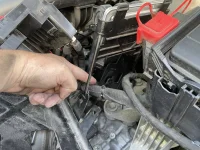
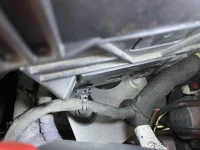
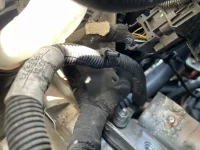
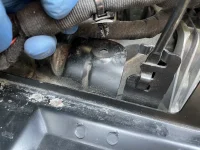
Also on the front is a larger bundle that has a clip that can be pushed underneath with a screwdriver, this one is difficult due to the angle, its difficult to get your hand under the tray while lifting it. You may need to leave this one until last.
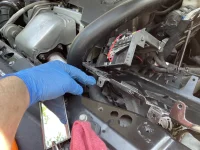
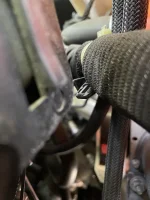
There is a loom at the near the vertical battery hold-down bar that is an Xmas tree push in.
Continues to part 2
First, always be sure you can refill it before you drain it!
The port to the rear, though visible without removing anything, in my opinion, is more difficult to reach with a socket and funnel. Pushing the ECU over doesn’t help me, I still can’t get enough space.
The port under the battery requires removing a lot more stuff.
You will need: A replacement fill port, GM PN #24220728, or if you already have the port, a new fill port O-ring 24220722. Also you should have a new o-ring gasket for the bigger drain plug on bottom of the trans PN #24277807, and ideally one for the small drain port, PN #90007873.
Remove the cover from the ECU, 10mm. Lift cover off.
Push the tab at the bottom back of the ECU, and slide it up and off the tray, that is actually part of the battery tray.


Remove the battery hold down.
Remove the clip the holds the big electrical connector to the front of the plastic battery cover.


Remove the positive and negative terminals. There is a little wire to unplug from the negative terminal, don’t lose where that goes.
Remove the battery cover.
Loosen and remove the battery hold down on the bottom edge, 13mm.

Remove 3 bolts and 2 nuts that hold down the battery tray. 1 bolt is on the top. 2 are in the wells and 2 nuts are angled in the wells.
The battery holder, for me, did not come out all the way nor did it need to. But there are a number of wire looms attached to it.
On the front edge is a small wire with a push on Xmas tree.
Also on the front is a larger bundle that has a clip that can be pushed underneath with a screwdriver, this one is difficult due to the angle, its difficult to get your hand under the tray while lifting it. You may need to leave this one until last.

There is a loom at the near the vertical battery hold-down bar that is an Xmas tree push in.

Continues to part 2


