fishinfool56
New member
- Joined
- May 5, 2024
- Messages
- 27
- Reaction score
- 5
- Points
- 3
- Buick Ownership
- Park Ave.
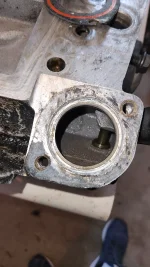
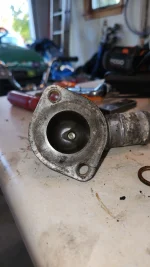
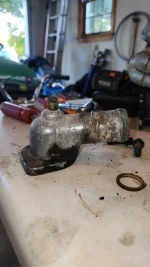
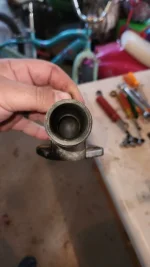
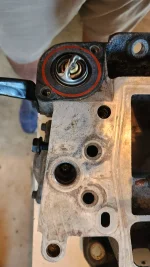
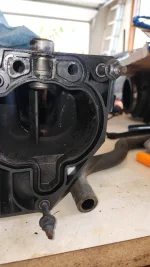
Just replacing upper and lower gaskets only. I bought the fel- pro upper and lower set. I believe the lower was ms98014T the picture shows them as the metal ones. I haven't straight edged the lower intake as of yet. Gonna a do that tomorrow while waiting on Amazon. The plenum is plastic. Im pretty sure that when I saw the pressure dropp while running I tried to pump it back up. In doing so I basically marched myself into the good ol po300 code, and an increase in temperature, then a no start condition lol. When I tear something up I usually tear it up good lol. Im hoping to have the gaskets and finish tomorrow. Then I gotta drive it a bit to get the readiness monitors reset so I can get through Delaware dmv.
so to be clear you are replacing the lower intake manifold and the gaskets with the upgraded metal ones (between the lower and engine), i believe the ones between the lower and upper manifold may be metal but not sure, ive not done the job on a L36 before. @HotZ28 would know. Theres a chance your dorman manifold isnt flat. can you take a straight edge and confirm its flat around the important spots? The cooling system dropping to 4lb when running could have been a factor of your water pump rotating things and I wouldnt read into that unless you pumped it up after it was running and you were unable to keep it up with the tester. There could have been air pocket basically that just relieved the pressure to 4lbs.
Did you buy gm gaskets