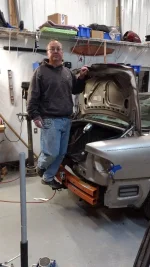
Another new member with a 2000 Century

I have noticed so many GM cars (after 2005-ish) have bare insulation in the bottom of the tire well for noise control. All I can think of is how fast it will rust away around in the Great Lake States as soon as it get wet.
 
Had to remove some rust for the welder ground clamp. I'll be removing the rest of this rust later.

Here I'm using a jack to jam the patch down tight.
jamming in the patch.webp

Next I've tack welded it around the perimeter.

spot welded in.webp

Coming up: more welding, beat to fit, and paint.
 
______________________________

Help support this site so it can continue supporting you!
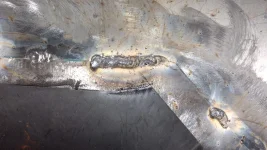
I did some more tack welds and started laying down beads.
weld bead.webp

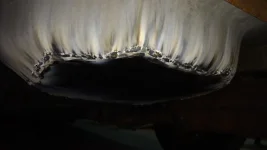
I'm happy with the penetration. The underside looks sort of artsy, or maybe something like a Hubble telescope picture.
trunk welding paint burn.webp

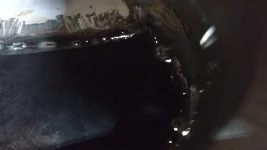
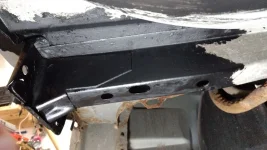
The top right corner in the next picture had a lot of pitting after I cleaned off the rust. I think that metal was too thin for me to weld at my skill level and with the equipment I have. In the picture I have a trouble light under the car and you can see the light shining through the holes. I think I'm going to hack out those sections and make another patch.
holy Buick.webp
 
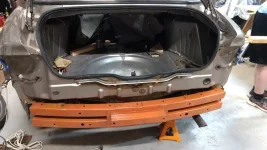
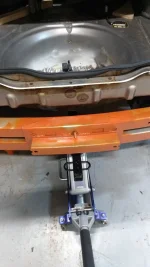
Trial fit of the bumper. Looks good, but a shame I put it on upside down.
orange bumper trial fit.webp

I had to stop welding because I ran out of wire. So I figured I'd start looking at bolting the hitch up. I'd rather drill holes on the press, rather than under the
bumper. Less chips in my eyes that way.
jacked up hitch.webp

Unfortunately, my new wheel well floor is higher than the stock one. I'll have to shave the foam jack mount and modify my hitch. The hitch does not meet up flat.
wheel well bad angle.webp

The better way to do this repair would have been to cut out an entire spare tire well. Most of them are rusty. The car I got the bumper from was not, but the car was resting on the tire well and it was smashed.
 
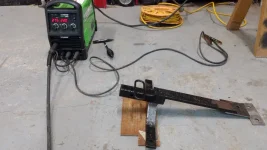
Here is my setup to weld to the right angle on my trailer hitch.
weld angle setup.webp

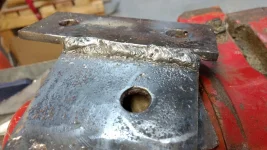
I'm still getting used to this new MIG welder. Seems awesome, though some of my welds still are not pretty. I'm ready to let my old Craftsman stick welder go.
Hitch Welding.webp

I've heard many rave about POR-15. Decided to try it. Seems pretty awesome. Very durable so far. Plus it looks good.
POR on rear frame.webp
 
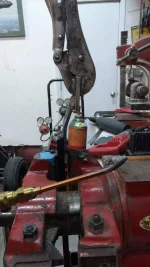
All of that setup to get the angle and I found I got it wrong once I bolted up the hitch tight. Oh well, that is what oxy-acetylene torches are for. Got it glowing and bent it to the right angle with some vise grips.
crystal blue tip persuasion.webp

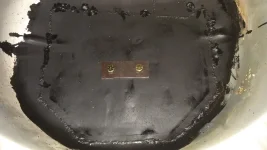
Bolts and bracket in the trunk:
bolts in trunk.webp

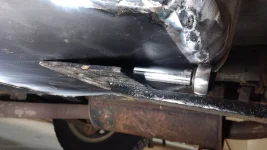
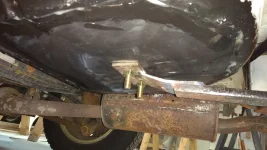
And underneath. Mr. Muffler is not looking so great.
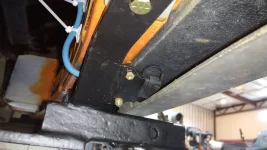
bolts under tire well.webp

Stress test:
hitch test.webp
 
______________________________

Help support this site so it can continue supporting you!
Thanks for the positive feedback!

Here is a mount I made for the connector.
plug mount.webp

I welded it into the hitch.
plug mount welded top.webp

Phosphoric acid bath after I ground and wire wheeled off as much rust as possible:
acid bath hitch.webp

My new favorite paint - POR15.
por15 hitch.webp
 
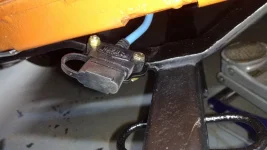
Here is my nicely mounted connector. I put it on so I could figure out my wire run.
plug access.jpg

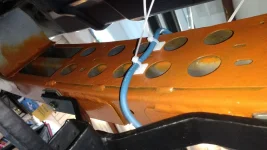
Here is the routing:
wire up bumper.jpg

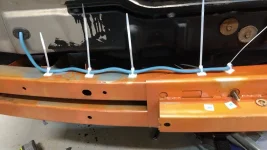
And across:
wire on bumper.jpg

Unfortunately once the bumper cover is on, no good. I think I'll just mount it to the bottom of the bumper cover.
an unfortunate oversight.jpg

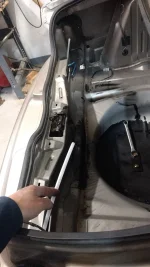
The plastic tube runs through the space under the trunk latch bar. I'll route the right blinker wire through this tube.
plastic tube for right blinker.jpg

I'm ready to be done with this project.
 
I printed up some bushings to mount my trailer hitch connector.
reese bushing trial fit.webp

Here it is mounted up.
connector mount with bushings.webp

It seems pretty solid, though the bumper cover is not totally stiff.
 
I hate hacking into wiring harnesses - except at the junkyard. I noticed there is a disconnect for the tail lights, near the tail lights. So I snipped out the left and right side harnesses on either side of the mating connectors and brought that home. Then I made a breakout harness. This is the right side.
right tail light breakout.webp

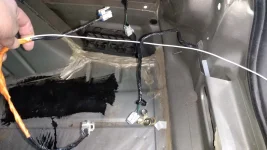
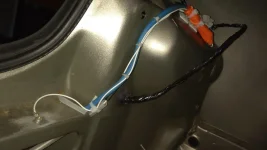
So I plugged my harness into the car harness, ran the white wire down the plastic tube, installed about a million self adhesive tywrap points, and bundled it up.
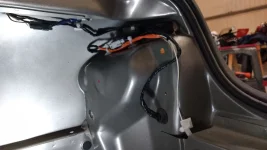
right tail light harness installed.webp

Ok, not a million, but 5. Then I did the left side.
left side harness installed.webp

I was not sure how loaded the ground wire was, so I just made a ground in the trunk. I only had orange electrical tape, but it does match the bumper.
 
So my fuel filler neck is super scary looking. I got a new one from LKQ. I'd like to get a new hose for between the filler neck and tank. Anybody have a part number?
LKQ haul.webp

Besides the filler neck I got a new spare cover and a hitch for $6.
six buck hitch.webp
 
Back
Top