Jara
New member
- Joined
- Apr 4, 2022
- Messages
- 3
- Reaction score
- 5
- Points
- 3
- Buick Ownership
- Park Avenue 1994
Hi there, after years of frustration, searching the web everywhere and waking up neighbors at night with honking, I took the challenge to repair the PA horn.
Cutting holes and mounting switches anywhere was no option - for esthetic and security reasons I wanted to make the horn plate work again.
WARNING: this is only a description of my procedure. I have worked on a functioning airbag system and was aware of the risk. I do not encourage anybody to do the same, it is REALLY DANGEROUS to manipulate on an airbag. This description is only for demonstration purposes and describes what I did - DO NOT TRY THIS AT HOME. If you do anything that I am writing here and the airbag blows into your face - it is at your own risk. I am not a professional car mechanic and this is not a repair guide, manual or any professional advise.
What I did to make it happen:
0. MOST IMPORTANT: disconnect the battery completely and wait 10 minutes for all the power to disappear from any modules in the car that could activate the SIR
1. take out the airbag - simply 2 TORX 30 screws behind the wheel
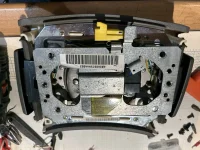
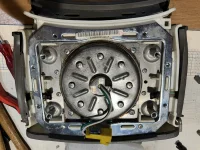
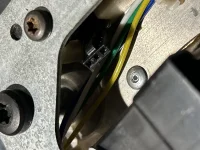
2. examine what it all looks like and what the cables mean
A friend told me that there are thin brass plates between the airbag housing and the grey cover. THese brass plates are separated by small plastic nipples that disappear over time and do not separate the contacts anymore. So the task was to get under the skin of the thing
3. Remove all screws (TORX20 I believe), the backplate and the steering wheel controls for radio etc.
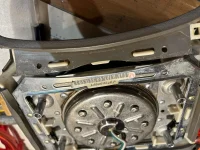
4. Drill out the rivets on three sides of the airbag housing: one side after the other, very carefully
5. Remove the rivets from the airbag with needle nose pliers - I did not want them to stay there and shoot a hole in my face if the airbag does its job one day
6. Very carefully pry out the grey vinyl cover and uncover the brass plates without moving anything else
Here it is very important not to change the position of the folded airbag, it has to stay as it was
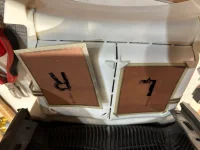
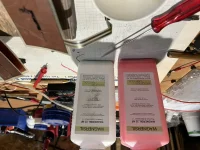
7. There I saw the brass plates, one with a big L and one with a big R on it.
8. With my fingernail, I disconnected the brass contacts and found the problem: a totally flawed construction of contact separation - this cannot work for a longer period of time.
9. I connected a lamp to the contacts and found that the slightest touch closes the contacts
10. I prepared some silicone (this stuff is soft, form stable, temperature resistent and comes closest to the principle of the original idea of the GM genies that invented the horn contact nipples
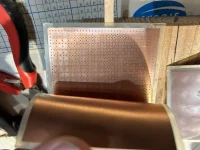
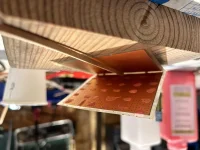
11. I distributed some silicone in a square pattern over the brass area and let it dry.
12. With the test lamp on, I tried to push the brass contacts and the light went on after a firm pressure - that was what I hoped for.
13. Put back the brass contacts under the grey vinyl skin and re-test with lamp if pushing the horn area makes the light blink - it worked as I hoped. Not too sensible, but responsive on a gentle push
14. Put back the vinyl in place and rivet the housing back together
15. Connect the wires, put all the stuff back in the car and test again - the horn goes off when you push the area firmly.
That all took about 2 hours and the material cost is 4 rivets and some silicone.
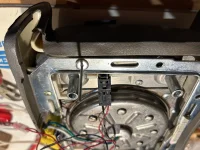
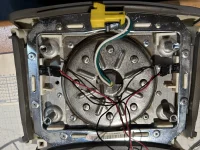
Pictures attached… They are upside down, no idea how to change that… Sorry for that


